
If your kitchen feels outdated but a full remodel isn’t in the budget, painting your cabinets is one of the fastest and most affordable ways to give your space a fresh new look. And thanks to the Rust‑Oleum Cabinet Transformations Coating Kit, you can achieve a durable, factory‑smooth finish without sanding—yes, really!
This step‑by‑step guide walks you through how to paint kitchen cabinets, choose the best paint for cabinets, and get long‑lasting, stunning results that look professionally done.
Why Choose the Rust‑Oleum Cabinet Transformations Kit?
The Rust‑Oleum HOME system is designed for homeowners who want gorgeous painted cabinets—without the mess and stress of traditional cabinet painting. Here’s what makes it the best cabinet paint system for DIYers:
- No sanding required—skip the hardest part of traditional kitchen cabinet painting.
- Incredibly durable finish with superior stain and scratch resistance.
- Works on wood, laminate, melamine, and metal cabinets.
- Complete weekend project—fast dry times and simple steps.
- All-In-One Kit includes Cleaner/Degreaser, Bond Coat, and Protective Top Coat.
Whether you're updating oak cabinets, painting laminate cabinets, or brightening a small galley kitchen, this kit provides a smooth, professional look.
What’s Included in the Kit
✔ Krud Kutter® Cleaner/Degreaser
✔ Bond Coat (tintable)
✔ Protective Top Coat
✔ Step‑by‑step instructions
Tools you’ll need to buy separately: synthetic brushes, ¼" nap rollers, painter’s tape, drop cloths, gloves, and lint‑free rags.
How to Paint Cabinets with the Rust‑Oleum Cabinet Transformations Kit
Before you dive in, here’s the good news: transforming your kitchen cabinets is easier than you think—especially with a coating system designed to deliver professional results without sanding. The Rust‑Oleum HOME Cabinet Transformations Kit simplifies the entire process, allowing you to refresh your cabinets with long‑lasting durability in just a weekend.
Let’s get started!
Step 1: Clean & Prep (The Most Important Step!)
A flawless finish starts with ultra‑clean surfaces.
- Remove cabinet doors, drawers, and hardware.
- Use the included Krud Kutter Cleaner/Degreaser to wipe all surfaces. Let sit for 3–5 minutes.
- Pay extra attention to greasy areas near the stove and sink.
- Rinse and fully dry with lint‑free rags.
Pro Tip: Measure first! One Kit covers up to 100 sq ft. You will want to measure your cabinet space beforehand to ensure you have enough product.
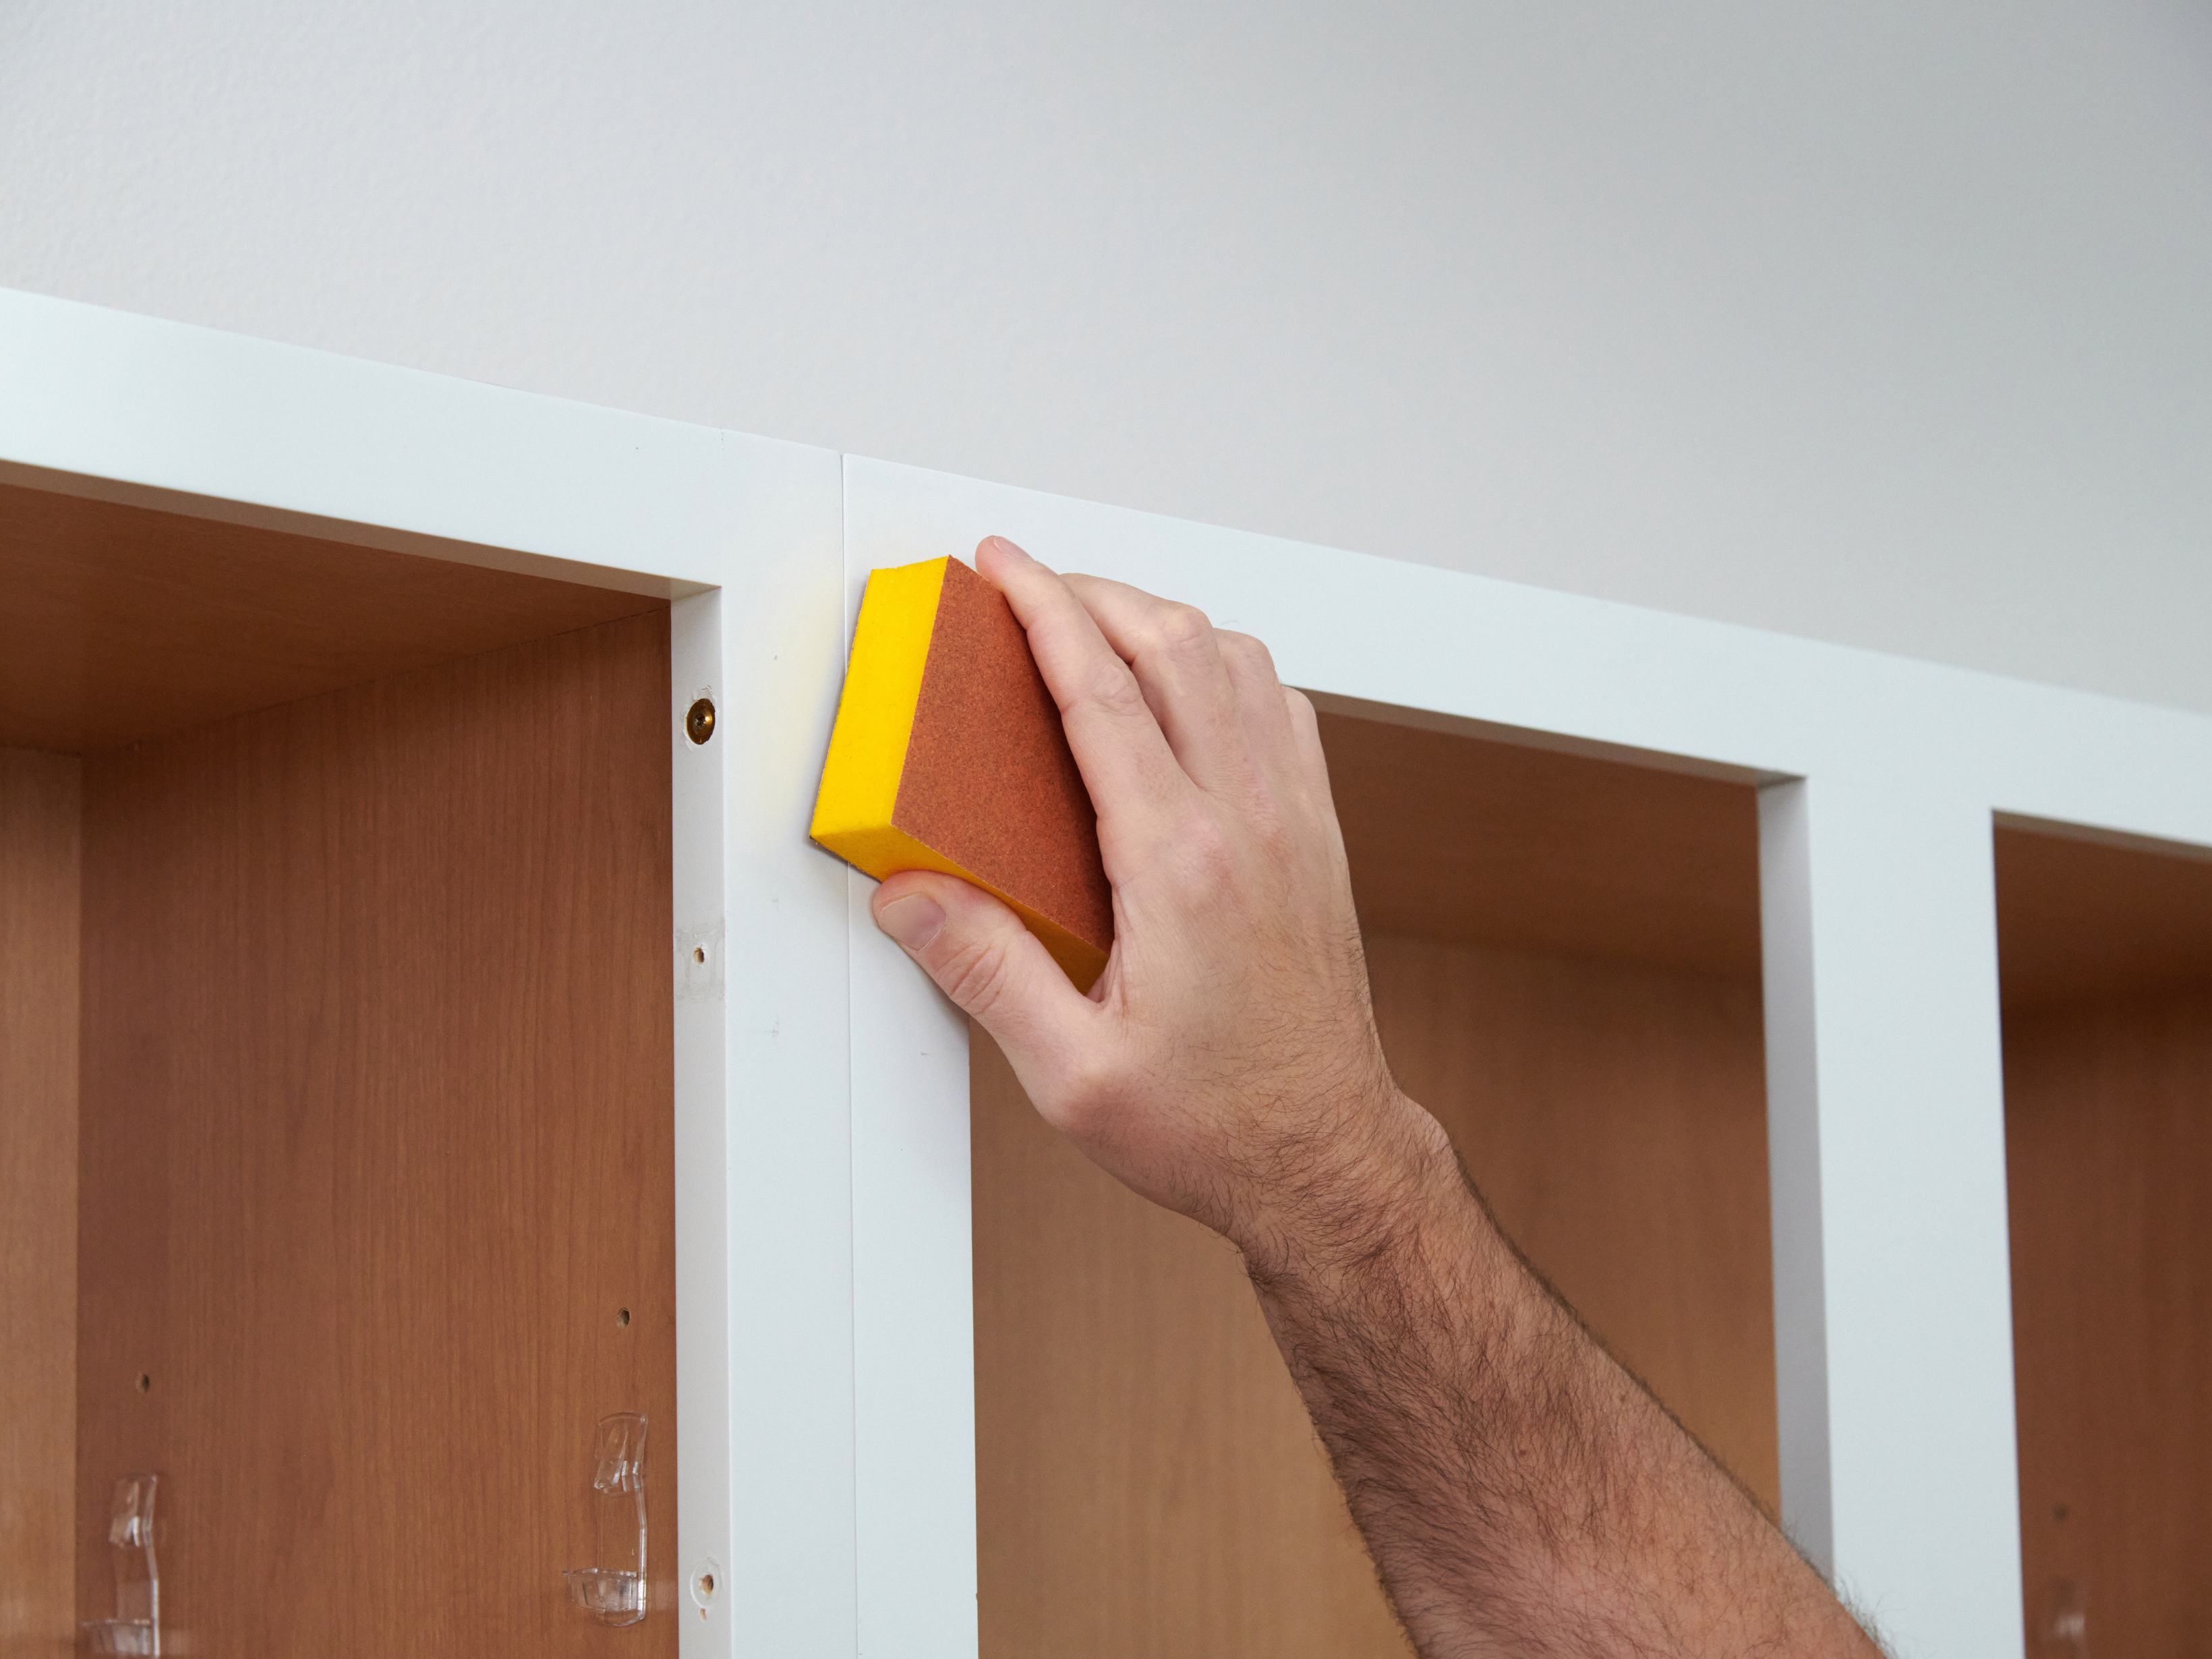
Step 2: Test Adhesion (Quick but Essential)
Before painting your entire kitchen:
- Apply a small area of Bond Coat.
- Let dry 2 hours.
- Score an “X” with a utility knife, apply painter’s tape, and pull.
- If more than 10% comes off, lightly sand to remove wax.
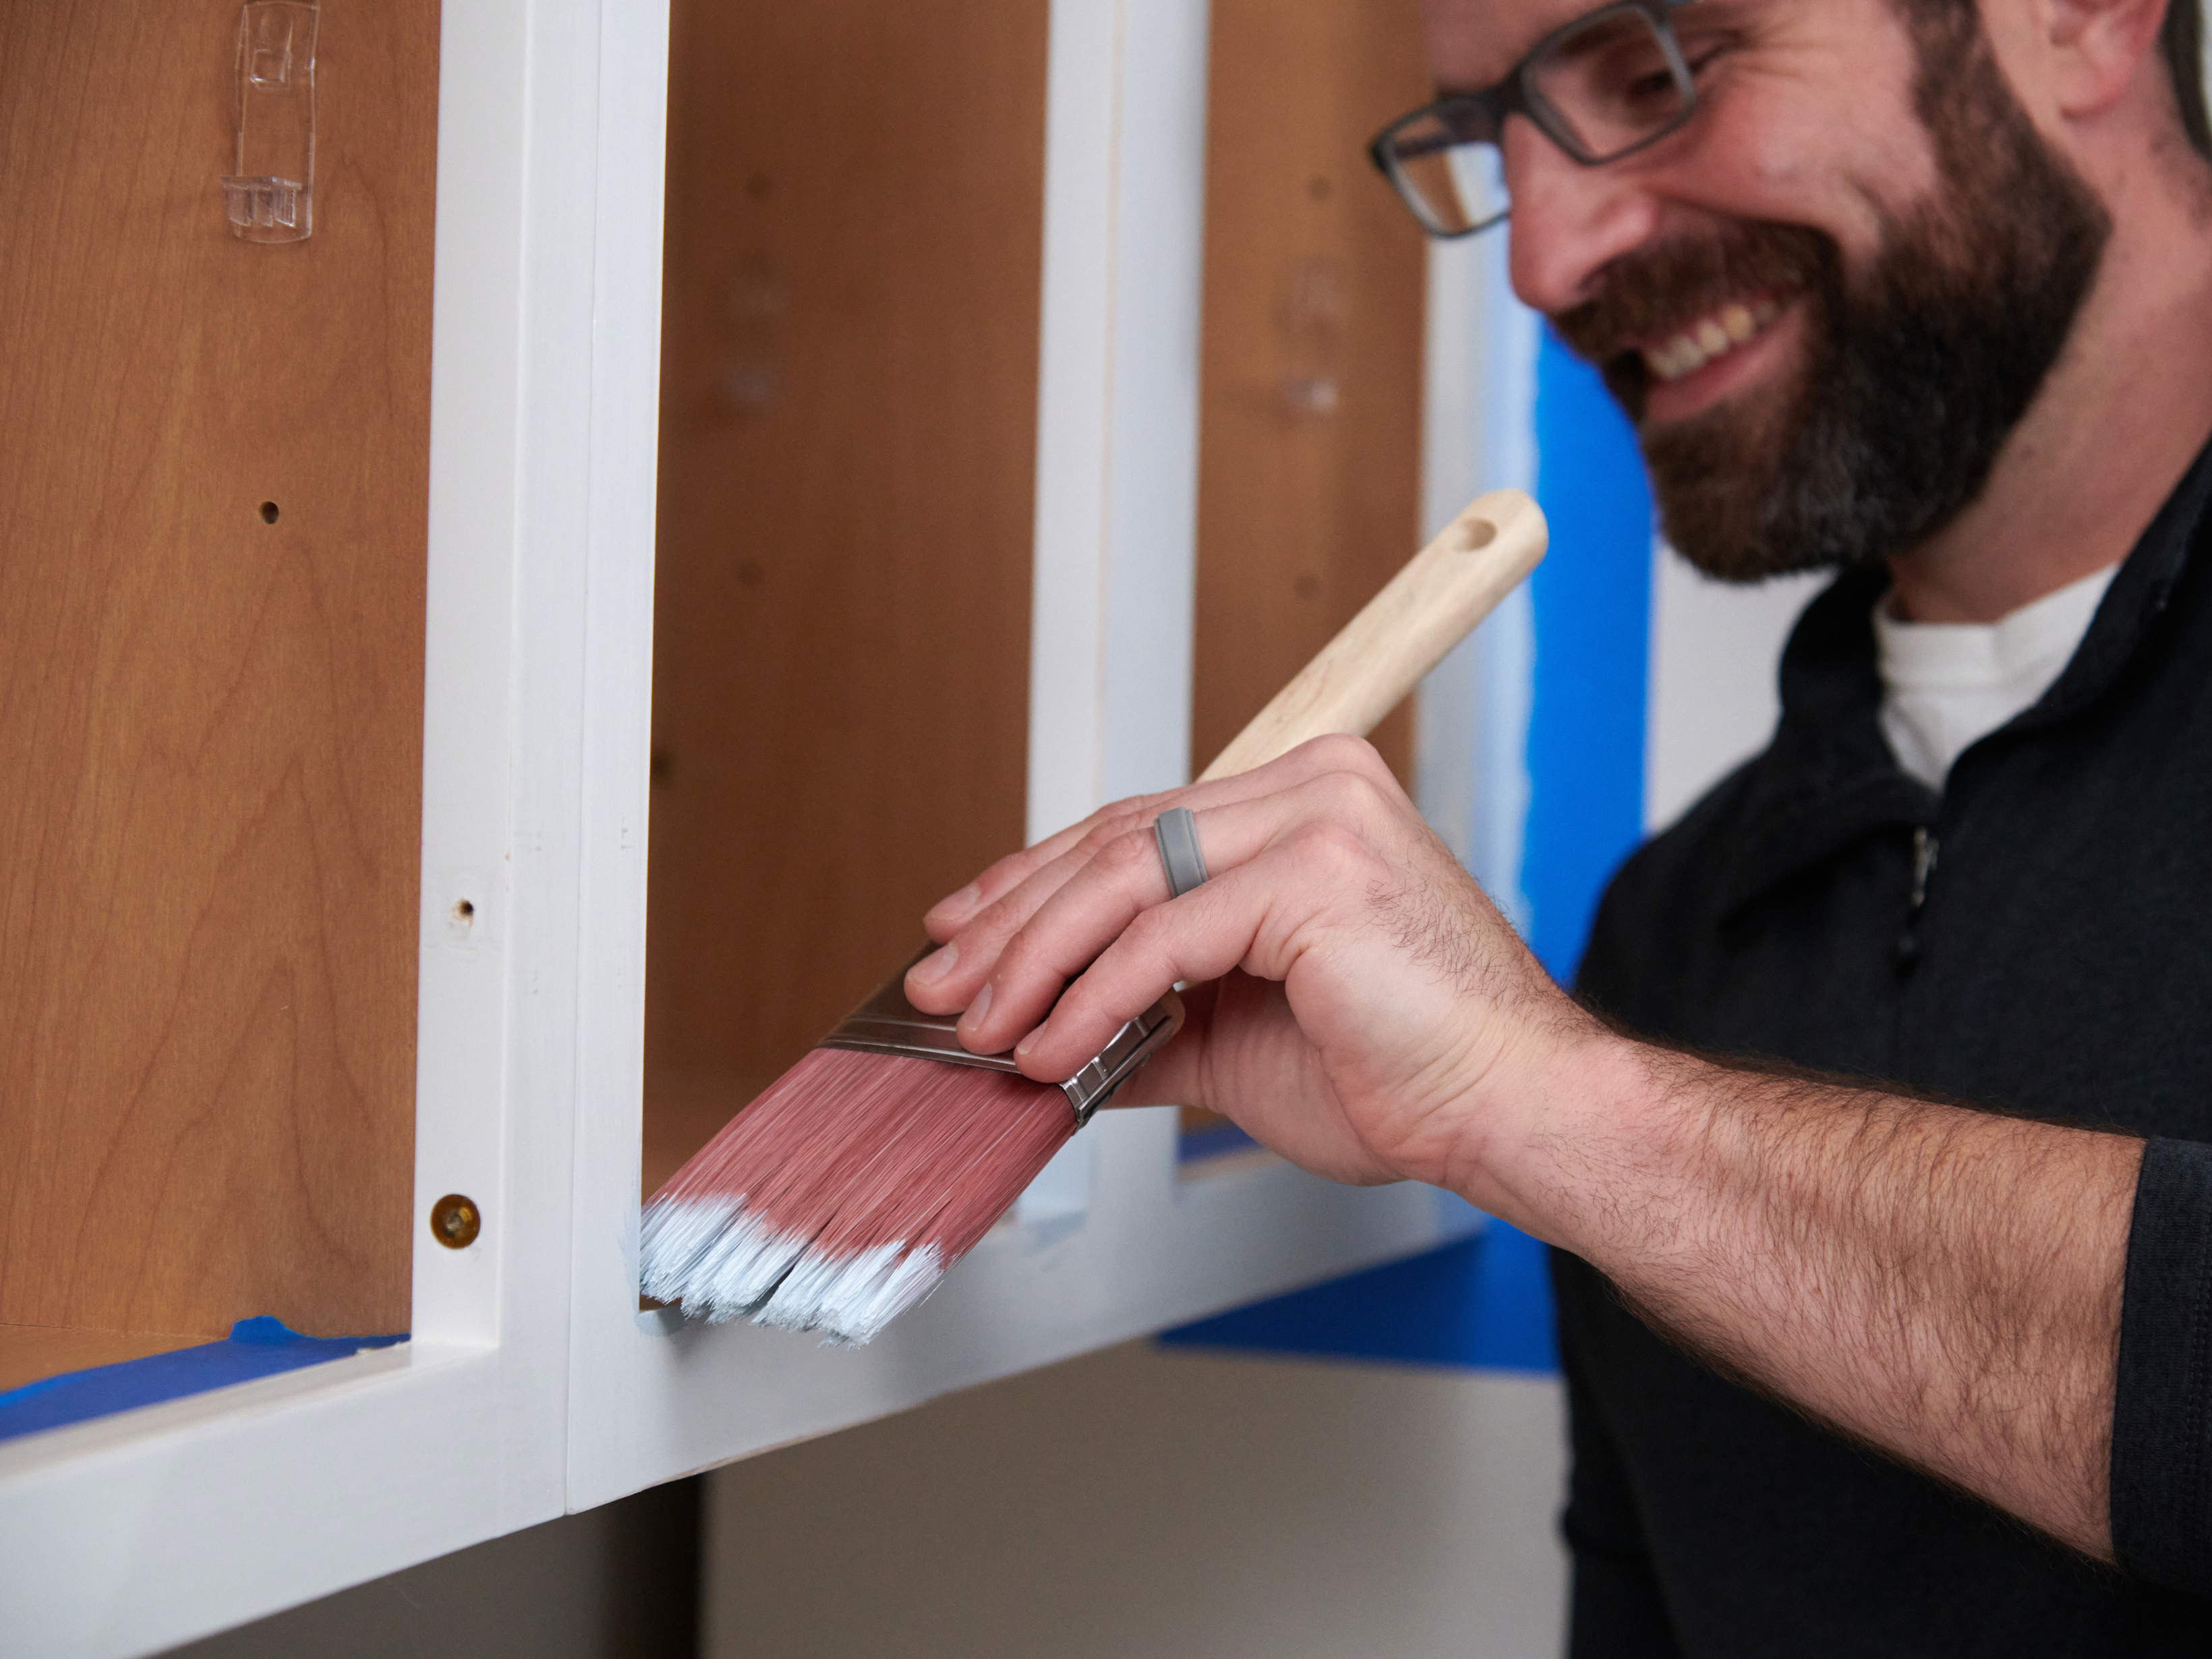
Step 3: Apply the Bond Coat (Your Cabinet Color)
- This is where the magic happens—and where your kitchen cabinet paint colorcomes to life.
- Apply when temps are between 50–90°F and humidity below 60%.
- Use a brush for detail areas, roller for flat areas.
- 1–2 coats depending on color and coverage needs.
- Allow 2 hours of dry time between coats.
Pro Tip: Make sure the surface is completely dry before applying each coat and before proceeding to the next step. The bond coat will only adhere properly to fully cleaned cabinets.
Step 4: Optional: Add Custom Design Touches
Want high‑end, designer‑style painted cabinets?
Try:
- Accent colors
- Stencils
- Faux woodgrain
This step is completely optional—but a fun perk of DIYing!
Step 5: Apply the Protective Top Coat
This top coat is what makes Rust‑Oleum one of the best paints for cabinets, especially in busy kitchens.
- Once the base coast is completely dry apply one even coat to all surfaces.
- Use brush + roller just like the bond coat.
- Avoid over‑brushing to prevent streaking.
- Let dry for 2 hours before handling.
The protective coat creates a scrub‑ and stain‑resistant finish built for everyday living.
Pro Tip: Want to make the painting process even easier? Consider using plastic pyramids to elevate the cabinets off the surface, allowing you to paint and let them dry with less mess.
Step 6: Reinstall & Cure
You’re almost done!
- Wait 12 hours before reinstalling cabinet doors and hardware.
- Full cure time: 7 days—avoid cleaning during this period.
- Clean tools with soap and warm water.
Choosing the Best Cabinet Paint Colors
Whether you love bold kitchen cabinet paint colors or prefer modern neutrals, the tintable Bond Coat allows you to customize your look. Rust-Oleum currently offers dozens of color options, including top trending colors:
- Soft taupe
- Classic navy
- Warm gray
- Pure white (use a primer like Zinsser Bulls Eye 1‑2‑ on bare oak to prevent tannin bleed)
![]()
Why This Kit Beats Traditional Cabinet Paint
Traditional cabinet painting requires:
- Sanding
- Priming
- Multiple coats
- Long dry times
- High skill level
The Rust‑Oleum system:
- Eliminates sanding
- Provides built‑in adhesion
- Offers professional‑level durability
- Works on more surfaces than standard paint
- Complete in one weekend
It’s truly the best paint for kitchen cabinets if you want fast results without compromising quality.
Final Thoughts: A DIY Project That Actually Pays Off
Painting your cabinets with the Rust‑Oleum Cabinet Transformations Kit can completely change the look of your kitchen—for a fraction of the cost of replacement. Whether you're aiming for painted white cabinets, a dramatic dark look, or a warm modern wood‑tone feel, this system gives homeowners the confidence and tools to get it done beautifully.